

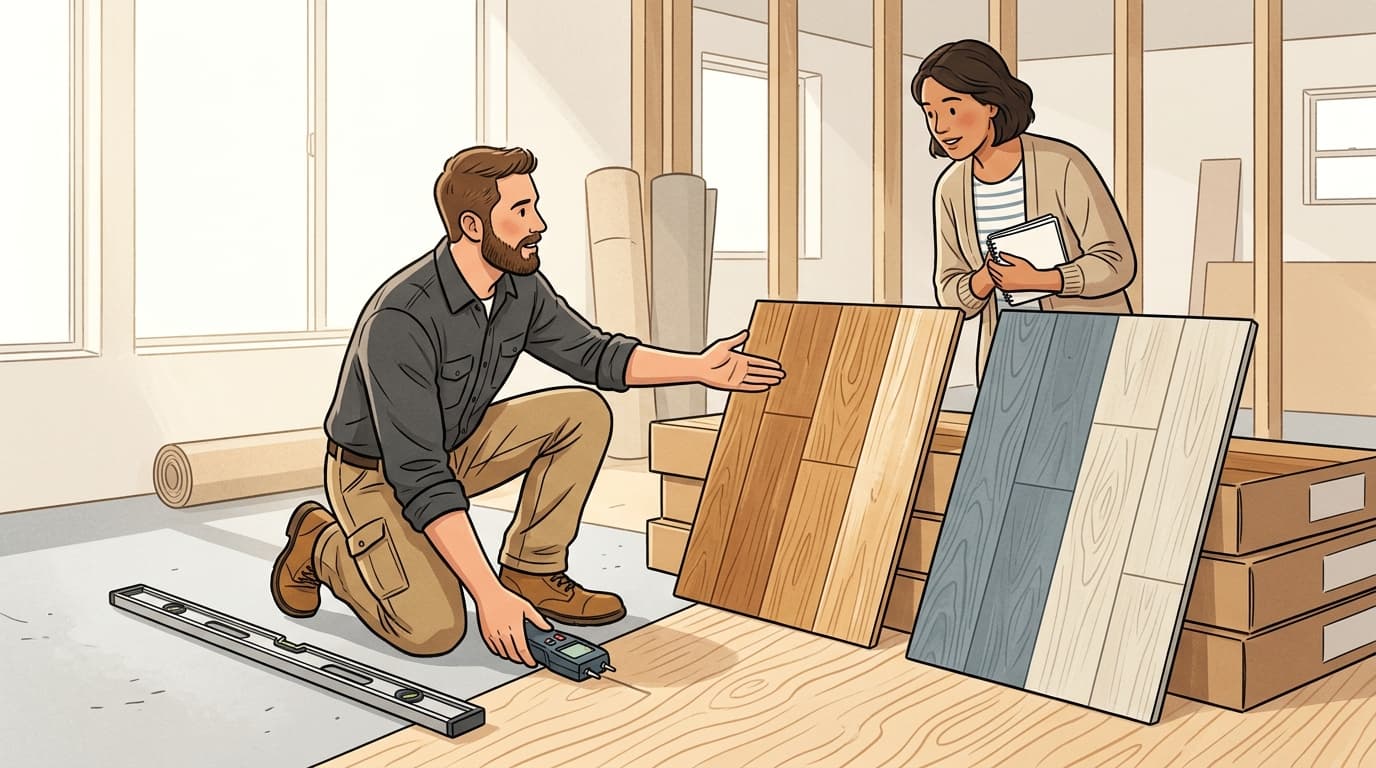
When high-end hardwood cupping, clicking luxury vinyl plank (LVP) bounce, or hollow-sounding cracked tiles occur, homeowners frequently blame defective materials. In reality, over 90% of flooring failures stem directly from inadequate subfloor preparation: unlevel substrates, unchecked moisture vapor emissions from concrete slabs, or insufficient perimeter expansion gaps. Specifying subfloor prep tolerances in your contractor scope is the single best insurance against a ruined floor.
Subfloor flatness tolerances and levelling
Every flooring manufacturer specifies strict subfloor flatness tolerances in their installation guidelines. For floating luxury vinyl planks (LVP) and engineered hardwood, the subfloor must typically be flat to within 3/16 of an inch over a 10-foot radius (or 1/8 inch over 6 feet). When laid over dips or humps, floating planks flex underfoot, eventually snapping delicate locking tongue-and-groove joints and creating unsightly seam gaps.
Ensure that contractor estimates state whether subfloor levelling is included or billed as an extra. Proper levelling requires mechanical grinding down of high concrete ridges and applying a cementitious self-levelling underlayment with bonding primer over low dips.
| Flooring Type | Flatness Tolerance (per 10 ft) | Moisture Limit Standard | Subfloor Preparation Priority |
|---|---|---|---|
| Solid Hardwood (Nail-down) | 1/4 inch over 10 ft | Moisture difference between wood subfloor and planks ≤ 2%–4% | Screw down loose plywood sheets to joists to eliminate floor squeaks |
| Engineered Wood (Glue-down) | 3/16 inch over 10 ft | Anhydrous calcium chloride test ≤ 3 lbs/1,000 sq ft/24 hr | Mechanical shot-blasting or grinding to remove sealers, paint, and wax |
| Luxury Vinyl Plank (Floating LVP) | 3/16 inch over 10 ft (or 1/8" over 6 ft) | RH in-situ probe ≤ 75%–85% or 6-mil poly vapor barrier on concrete | Grind concrete high spots; fill expansion joints and cracks flat |
| Large Format Porcelain Tile | 1/8 inch over 10 ft (very strict) | Fully cured concrete slab (≥ 28 days) with uncoupling membrane | Deflection rating L/360 or L/720; zero subfloor bounce allowed |
Moisture vapor testing and vapor barriers
Concrete slabs continuously emit microscopic moisture vapor from the ground unless an intact vapor retarder exists beneath the foundation. If you install glue-down wood or floating vinyl over concrete without testing, hydrostatic moisture vapor will emulsify adhesive bonds, sprout mold under underlayments, and cause wood swelling and cupping.
Demand that the installer test concrete relative humidity using calibrated in-situ probes (ASTM F2170) or calcium chloride tests before installation. On concrete, always specify an unbroken 6-mil (0.15 mm) virgin polyethylene vapor barrier beneath floating floors, with seams overlapped by 8 inches and taped with moisture-resistant tape.
Material acclimation and perimeter expansion gaps
Wood and vinyl products expand and contract with ambient temperature and humidity shifts. Solid and engineered hardwoods must be brought inside the conditioned living space for a minimum of 48 to 72 hours before installation so that the moisture content of the wood balances with the home’s interior environment.
Equally important is the perimeter expansion gap. Floating floors require an unobstructed 1/4 to 3/8 inch gap between the edge of the flooring and all vertical obstructions (walls, door casings, posts, and cabinets). Never allow installers to nail baseboards or quarter-round molding directly through the floating floor into the subfloor, as this pins the floor in place and causes buckles in summer humidity.
Underlayment acoustic pads and transition thresholds
Underlayments provide thermal insulation, cushioning, and acoustic sound dampening. In multi-family condominiums or two-story homes, building regulations often mandate minimum Impact Insulation Class (IIC) and Sound Transmission Class (STC) ratings (typically 50 to 60+) for underlayment.
Confirm that your contractor includes matching transition strips (T-moldings between equal-height rooms, reducers between differing floor heights, and end-caps against sliding doors). These thresholds allow adjacent rooms to expand independently without binding.
Evaluating proposals: tear-out, trim, and cleanup
A low bid often omits crucial auxiliary labour. When comparing proposals using our contractor quote comparison guide, verify the following items:
Old flooring tear-out and disposal: Confirm whether removing old glued carpet, tack strips, or heavy ceramic tile—and hauling waste to the landfill—is included in the proposal.
Baseboard and door casing handling: High-end installations remove existing baseboards and reinstall them over the new floor. Budget proposals often leave baseboards in place and add cheap shoe molding.
Undercutting door jambs: Ensure the contractor uses an oscillating jamb saw to undercut wooden door jambs so flooring slides neatly beneath, rather than hacking crude cuts around casings.
Next steps and finding verified flooring contractors
Measure your room lengths and widths (adding 10% for layout cuts or 15% for diagonal tile patterns) and request quotes that clearly differentiate material costs from subfloor levelling labour. Explore our dedicated flooring contractor services directory or discover top local installers on the Crewdax flooring contractor map.