

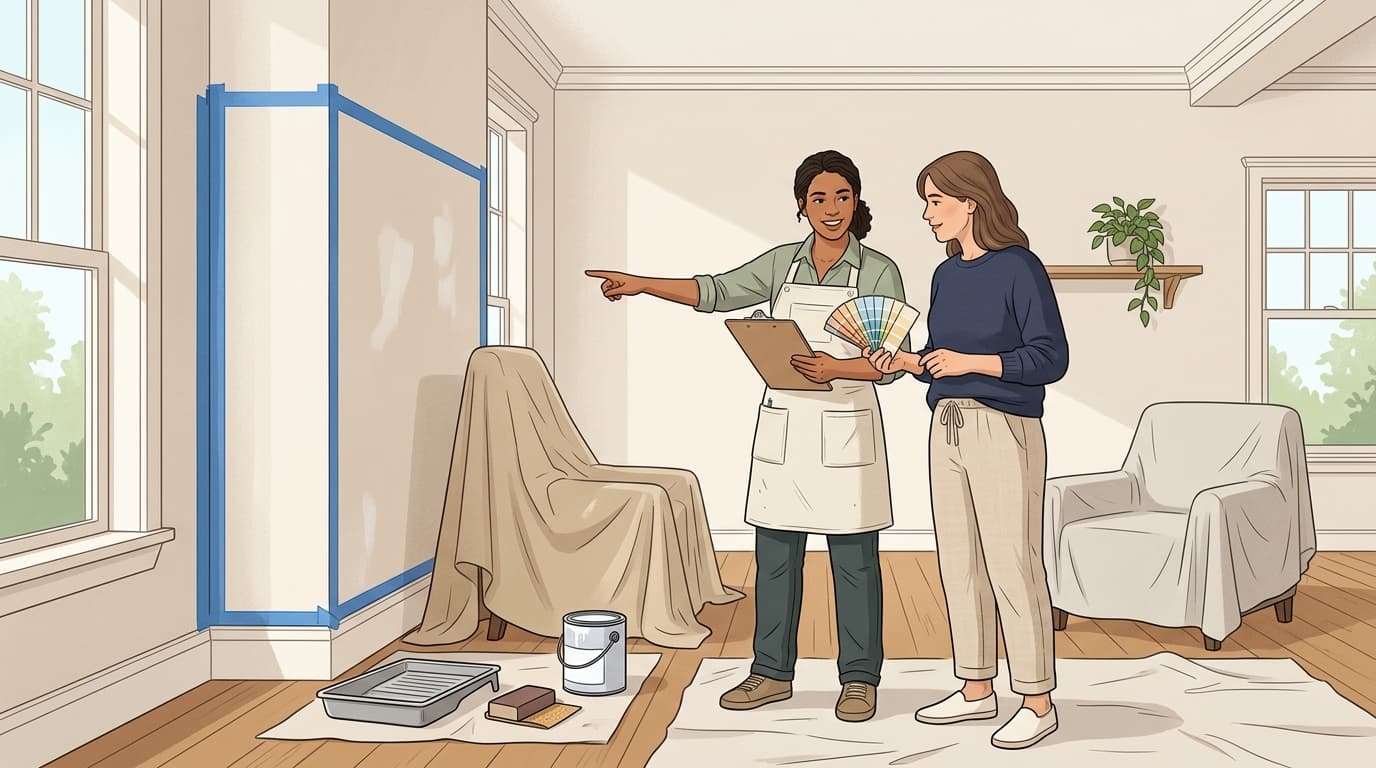
In residential painting, applying the colour with a brush, roller, or sprayer accounts for only 20% to 25% of the total labour; the remaining 75% to 80% is diligent surface preparation, scraping, caulking, sanding, and masking. When one painting quote comes in half the price of another, the difference is almost never the cost of a gallon of paint—it is that the cheaper contractor plans to roll a single coat over dirty, glossy, or peeling walls without proper mechanical prep.
Why surface preparation drives paint longevity
Paint does not adhere reliably to loose dirt, powdery chalk, mildew, or slick high-gloss surfaces. Without thorough scuff sanding, washing with tri-sodium phosphate (TSP) or an equivalent degreaser, and spot-priming bare wood or spackle, fresh latex paint will blister, peel, or scratch off with the slightest friction within 12 to 24 months.
A professional painting proposal should dedicate as many detailed sentences to surface preparation and protection as to the finish coat. Vague language like “prepare walls and apply two coats” leaves the contractor free to omit sanding, spackling, or spot-priming entirely.
| Scope Detail | High-Quality Contractor Scope | Budget / Low-Scope Shortcut |
|---|---|---|
| Drywall Imperfections | Cut out loose tape, fill with setting compound, feather and pole sand smooth | Quick spackle dab without sanding or feathering edges |
| Glossy Trim & Doors | Degloss with chemical prep or 220-grit scuff sand, bonding primer applied | Paint applied directly over glossy enamel, causing peeling |
| Exterior Siding Prep | Low-pressure wash, scrape loose paint to sound edge, feather sand, oil/alkyd spot prime | Quick power spray causing wood gouging, no hand scraping |
| Trim & Siding Joints | Rake out old brittle caulk, apply elastomeric urethane acrylic caulk to all seams | Caulk omitted or applied thinly over peeling old caulk |
Interior prep: patching, sanding, and primer coats
Inside the home, surface prep dictates how light reflects off walls and trim. Review the contractor’s written scope to confirm the following steps are explicitly enumerated:
- Hardware and plate removal: Removing switch plates, outlet covers, light sconces, and door hardware rather than sloppily painting around them.
- Drywall repair: Filling nail pops, setting loose drywall screws, re-taping joint fractures, and skim coating water stains with stain-blocking shellac or oil primer before applying latex topcoats.
- Caulking baseboards: Caulking the gaps between trim molding and drywall with paintable acrylic latex caulk to produce crisp, shadow-free lines.
- Sanding between coats: Lightly sanding trim and doors with fine sandpaper between primer and finish coats to eliminate roller stipple and brush drag marks.
Exterior prep: washing, scraping, caulking, and wood repair
Exterior coatings must withstand seasonal temperature extremes, UV radiation, and moisture intrusion. A reliable exterior scope specifies washing exterior surfaces at least 48 to 72 hours before painting to allow thorough moisture dry-out, verified with a moisture meter (surface wood moisture must be below 15%).
All loose, flaking, or checked paint must be hand scraped back to a firmly adhering edge, and the transition boundary must be feathered with medium-grit sandpaper so paint ridges do not show through the finish. Bare cedar or pine siding must be sealed with a dedicated exterior stain-blocking primer to prevent cedar bleed and tannin staining.
Paint brand tiers, number of coats, and sheens
Top-tier architectural coatings contain higher percentages of 100% acrylic solids and premium titanium dioxide pigments, resulting in superior coverage, scrub resistance, and fade prevention compared to entry-level builder paints. Ensure your contractor names both the exact brand (e.g., Sherwin-Williams, Benjamin Moore, PPG) and product line (e.g., Emerald vs. SuperPaint, or Aura vs. Regal Select).
Always verify the number of coats. “Two coats” in a proposal must mean two complete, separately dried applications—not one heavy coat back-rolled. In addition, confirm sheens room by room: flat or matte for ceilings, eggshell or satin for living areas, and durable semi-gloss for trim, doors, and moisture-prone bathrooms.
Comparing estimates: masking, protection, and cleanup
Property protection is as critical as the paint itself. A quality contractor proposal specifies complete masking of windows, light fixtures, and hardware, heavy canvas drop cloths (not slippery plastic) over hardwood and carpet floors, and plastic film barriers over furniture.
Use our guide on comparing contractor quotes to check whether daily cleanup, trash disposal, touch-up walkthroughs, and leftover labeled paint cans are included in the price.
Next steps and finding verified painting contractors
Count your rooms, note wall heights, list trim and door counts, and request itemized proposals that clearly delineate preparation, priming, paint brands, and coats. Explore our comprehensive painting contractor services directory or connect with verified residential painters directly on the Crewdax painting contractor map.